Between work, personal commitments, and my own geeky obsessions, I keep getting distracted from updating this blog (I am interrupt driven and I have a limited call stack).
Anyhow, for the past few weeks something has been bugging me and I finally did something about it over the weekend. When we teach CERT there is a section on eliminating hazards in the home and workplace. One of the things we emphasize is to use electrical outlets and power strips safely and to eliminate the “electrical octopus” which is so familiar to many of us. Every time I mentioned that I kind of felt bad about it because I knew that I was violating the rule myself.
So I set out to see how I could get control of the rat’s nest of cables under my desk and in my office. I researched “DIY cable management” and came across some interesting ideas from various sites. After absorbing as much info as I could, I solidified my own requirements:
- Must not have any power strips plugged into another power strip (bad form!).
- Wires must not be lying on the floor.
- All wall warts would have their own outlet saver
- All computer equipment must go into a single rack.
- No wires would be run exposed on walls and wires on the desktop surface must be minimized (i.e. run as direct as possible).
Given the above I set about trying to assemble all of the supplies that I would need. First, I tried finding a suitable rack. It turns out that even entry-level rack hardware is mind-numbingly expensive. A simple 24-inch wide LAN Station started at $500 and went up as you added features. Taking a cue from these guys I contemplated building my own. I drew up some sketches and came up with a parts list, which when I estimated the cost came to about $150 just for the parts. A little more searching turned up a 24x24x54 wire shelving unit for $166 with shipping (and an extra shelf).
That settled, I started figuring out how to set up my workspace so that the monitors, keyboard, and mouse would work. I ordered extra long video and power cables along with a USB hub and 15-ft cable. I also took the opportunity to order a new keyboard and mouse. The old keyboard I’d been using was PS/2 and the mouse was 6 years old and starting to get a bit flaky (every so often it would stall and you’d have to bang the mouse on the desk to wake it up). I also ordered outlet savers in bulk.
For wire management, I thought about some of the lessons I’d seen in various Instructables and bought some multicable staples, cable-tie mounting bases, and a bag of reusable cable-ties. I also bought some on-wall J-channel raceway to run just behind the desk to catch all the cables that go to the various items there.
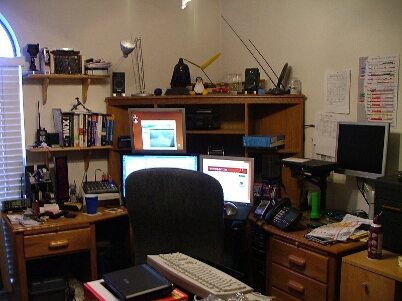
So… here’s how things looked before. Not only was it a tangled mess, it was impossible to keep clean because you couldn’t vacuum and separating the cables for cleaning was hopeless.
The overall mess:
The electrical octopus: (a.k.a. the rat’s nest)
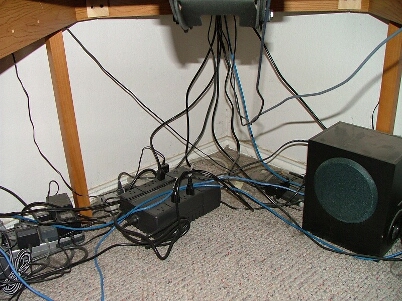
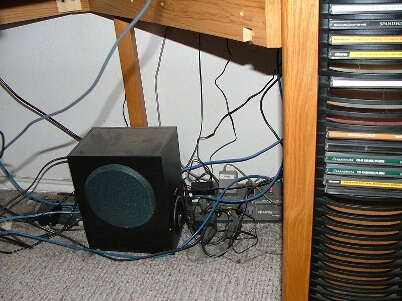
After ripping out all the wiring (if you look closely you can make out the five(!) power strips):
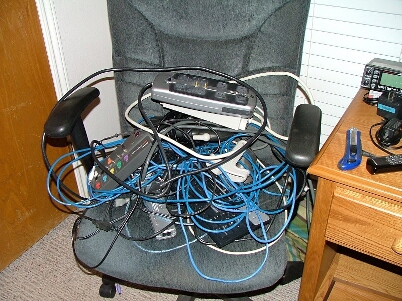
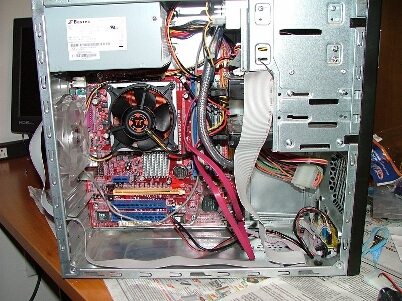
I also took the opportunity to clean out the insides of the server (this is two years of gunk; the heatsink fins under the fan are 100% blocked; it’s a miracle the system stayed as cool as it did):
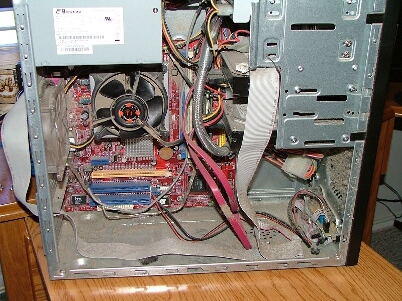
What it looked like when I installed it (for reference):
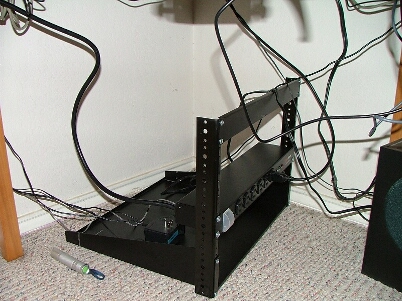
My home brew under desk power distribution unit. This was made from a 2U rack shelf, a rack-mount surge protector, a 1U blank, and two 14-inch rack rails. I had everything but the rails already on hand. If I were building a “real” rack to support more weight I’d have to have used some additional support, but since this is so short there’s no wobble from not having a back section. All “non-essential” equipment is plugged into this surge protector, and all wall warts have an outlet saver, allowing them to rest on the rack shelf. This keeps them off the carpet and makes the whole thing (somewhat) movable for cleaning underneath the desk.
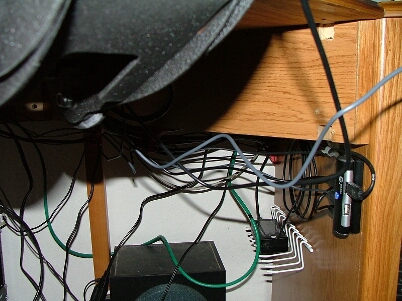
All the wires under the desk are now tied up off the floor (not exactly neat, but serviceable):
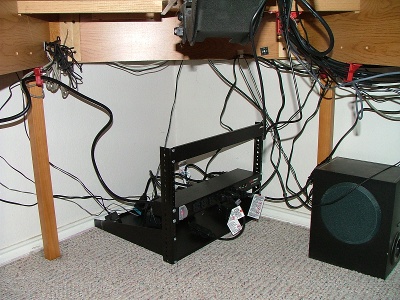
A small rack I added for the power supply to one of the monitors (this one is plugged into the second UPS) along with the USB hub for the keyboard, monitor, and Palm sync cradle:
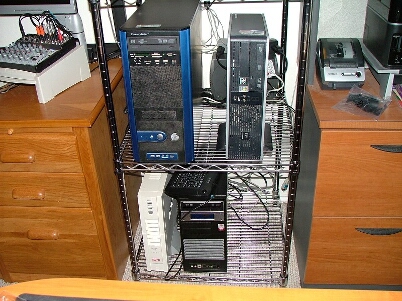
The rack with the main UPS, the server, and both desktops (there’s also a second UPS behind the HP box on the right):
The whole thing:
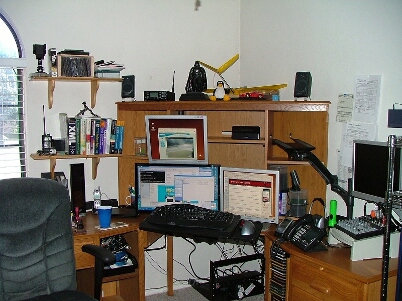
I spent about 6 hours Saturday night and another 8 hours or so on Sunday working on this. It doesn’t look like a whole lot after it’s all installed, but the fact that most wires are hidden belies the effort it took to hide them (i.e. drilling holes, putting up hangers, routing wires, fishing wires into awkward places, and general annoyance at hitting your head on the slide-out keyboard tray for the 15th time in one night as you come out from under the desk).
 February 29, 2012
|
Posted by Aubrey Turner
 Categories:


